Unity에서 Screen Safe Area를 대응하자
Updated:
해당 글은 MacOS 기준으로 작성했습니다
시작하면서
모바일 플랫폼에서 개발하면 반드시 대응해야하는 부분이 기기의 노치 디자인이다. 요즘 새로 나오는 기기들은 대부분 노치 디자인을 가지고 있기 때문에 필수로 대응을 해야한다. Unity에서는 Screen.SafeArea 를 사용해서 노치 디자인에 대한 UI 대응을 쉽게 할 수 있다.
자세한 설명은 위 링크를 보면 되고, 이 글에서는 portrait (세로 고정) 기준으로 코드를 작성했다.
코드
using UnityEngine;

public class UISafeAreaManager : MonoBehaviour
{
    public static void ApplySafeAreaPosition(RectTransform rt)
    {
        Rect safeArea = Screen.safeArea;

        // Convert safe area rectangle from absolute pixels to normalised anchor coordinates
        Vector2 anchorMin = safeArea.position;
        Vector2 anchorMax = safeArea.position + safeArea.size;

        // 기존 anchor x 좌표 사용
        anchorMin.x = rt.anchorMin.x;
        anchorMax.x = rt.anchorMax.x;

        anchorMin.y /= Screen.height;
        anchorMax.y /= Screen.height;

        rt.anchorMin = anchorMin;
        rt.anchorMax = anchorMax;
    }
}
Unity 공식 링크에서의 코드와 다른 점은 ApplySafeAreaPosition 함수를 static으로 선언해서, RectTransform 을 넘기는 방식으로 적용하고, anchor의 min, max x 값은 기존 값으로 사용한다.
x 값을 기존 값으로 사용하는 이유는 에디터에서 top left, top right 로 설정한 UI를 그대로 유지해주기 위함이다. (화면이 돌아가지 않으므로 수정할 필요가 없음)
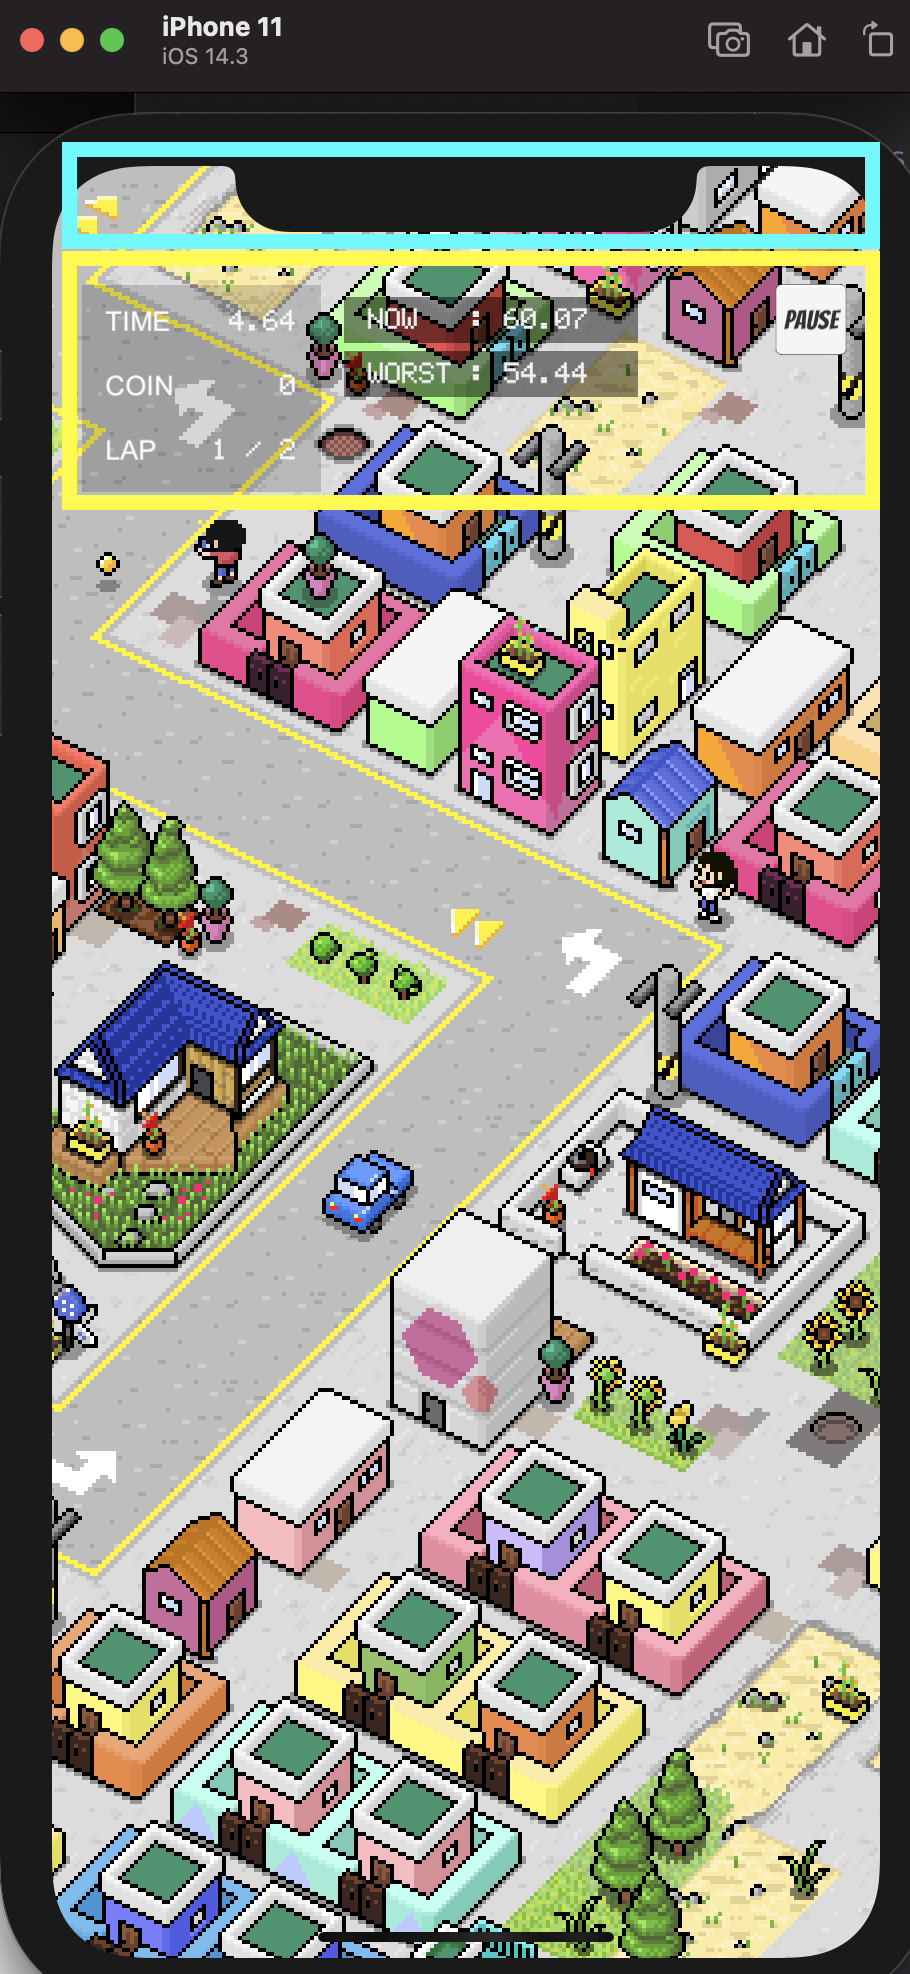
Safe Area가 적용된 모습
마무리
이 글은 철저히 회전하지 않는 세로 게임 기준의 코드이다. 회전이 필요한 경우에는 위쪽에 있는 Unity 공식 링크의 글을 보기를 추천한다.
Leave a comment